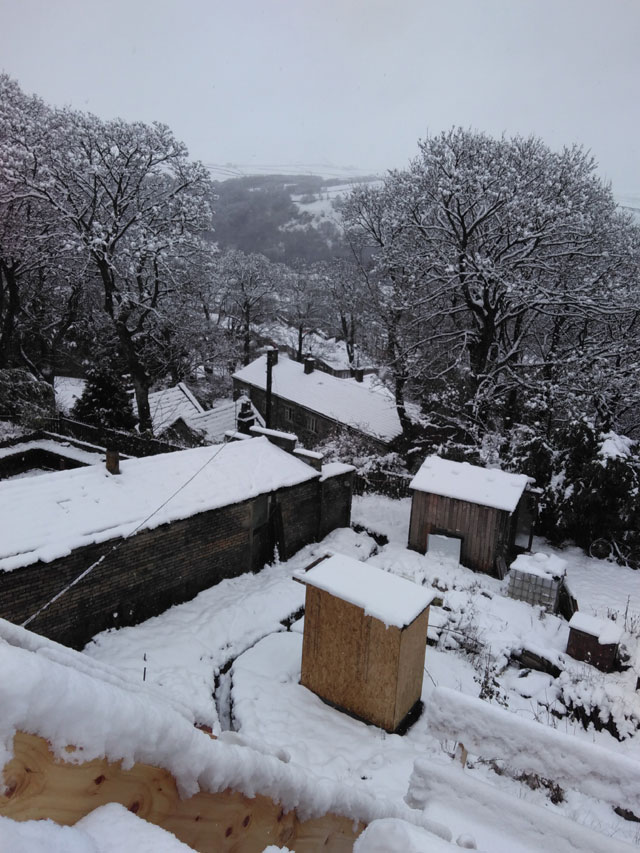
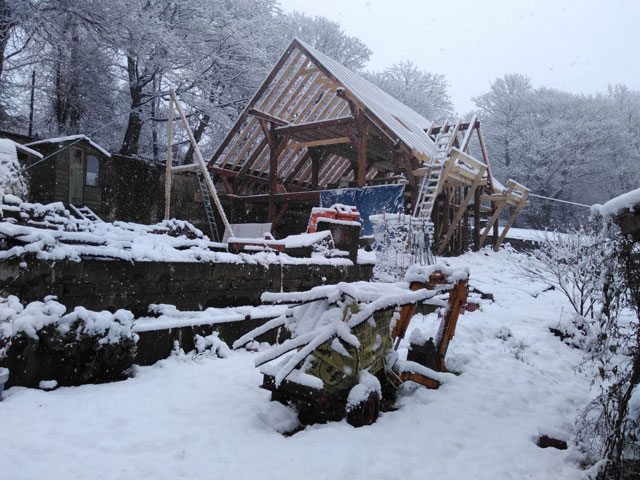
Well, at the very least, the view is beautiful in the snow.
The view of the bit I had to clear, however, filled me with some dismay. But I was a bit worried about the snow load on the longer temporary floor joists, and also, it was going to freeze for the next few days and I know that fresh snow is much easier to clear than crusty frozen snow. So I shoveled off the whole fecking building. Not exactly wasted time and effort, but did rather feel like struggling back up to zero.
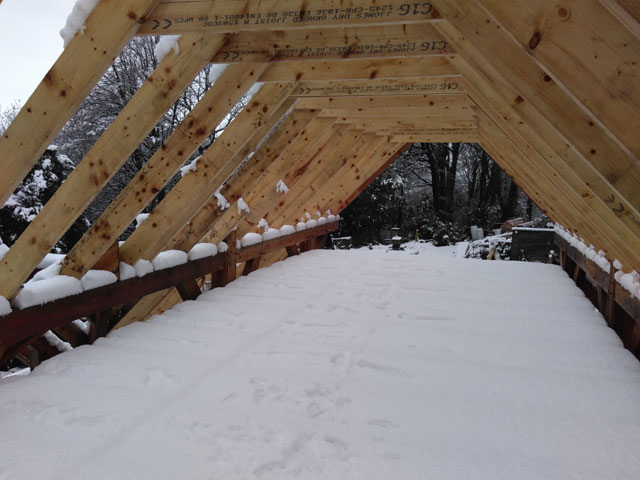
Anyway, it did mean that rather than a constantly dripping, soggy building, I had a dry, usable building the next day when we got on with roofing, which was a real blessing.
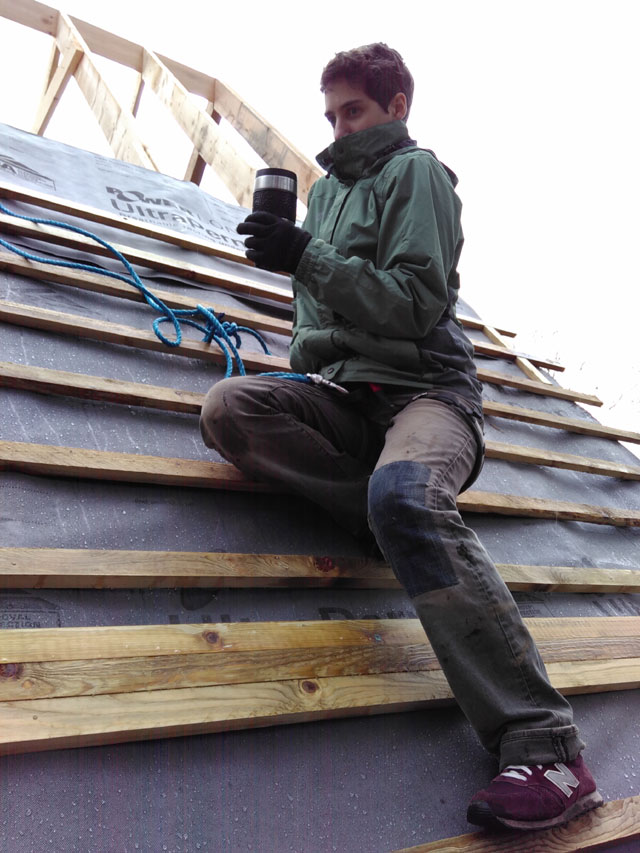
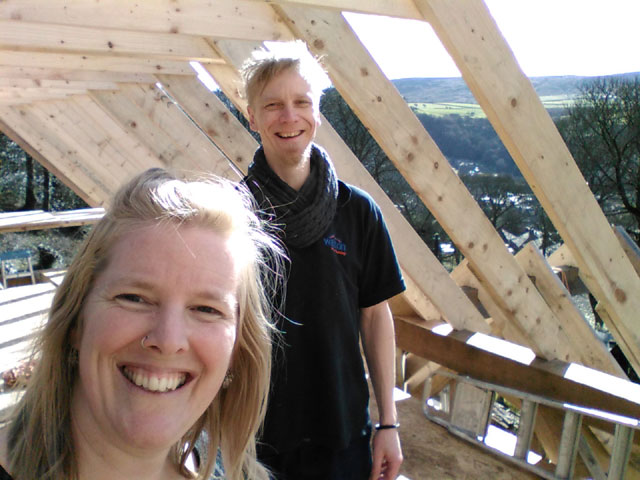
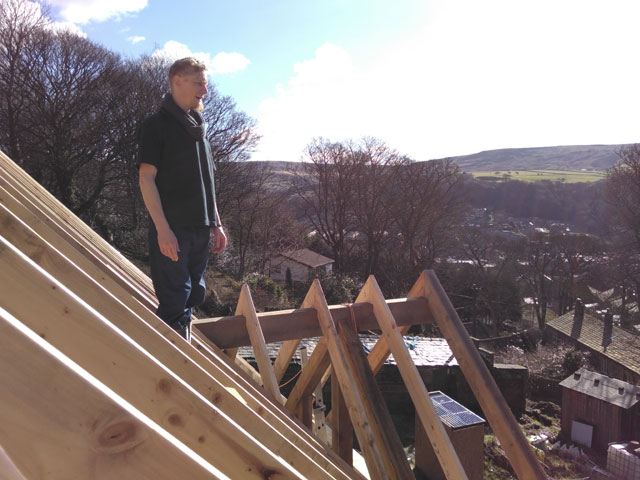
Working through the weekends means that Anna gets to help. And drink coffee on the roof.
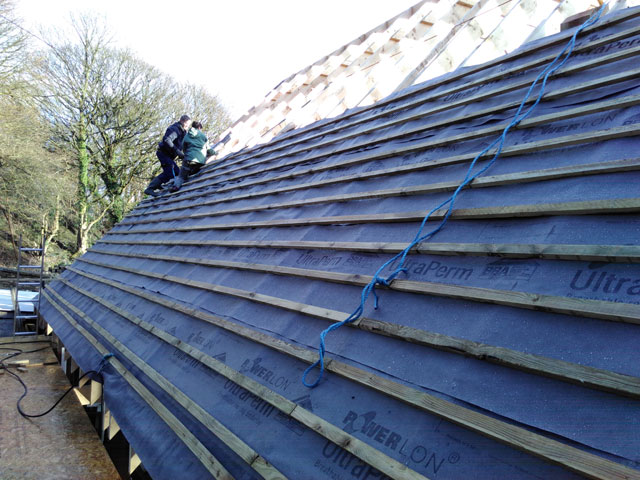
It’s a vast expanse of roof. I’m really not looking forward to all those tiles going on, now that I’ve done a share of spidering around up there. Very uncomfy. But still, I am very, very much looking forward to having a dry interior space!
And the process is going fairly fast now, so although we didn’t meet our goal of finishing the back today, and therefore we are unlikely to finish the whole roof by tomorrow, which I’d hoped to do, at least we are working quite productively and that feels pretty good.
Posted inUncategorized|Comments Off on Roofing For Real
Well, time’s a-ticking and I have a TON of stuff to get done by 16 March and then Ben went down with a terrible cold and the weather went to hell…
So I did a bit here and there between showers but it was so depressing, I couldn’t stand it.
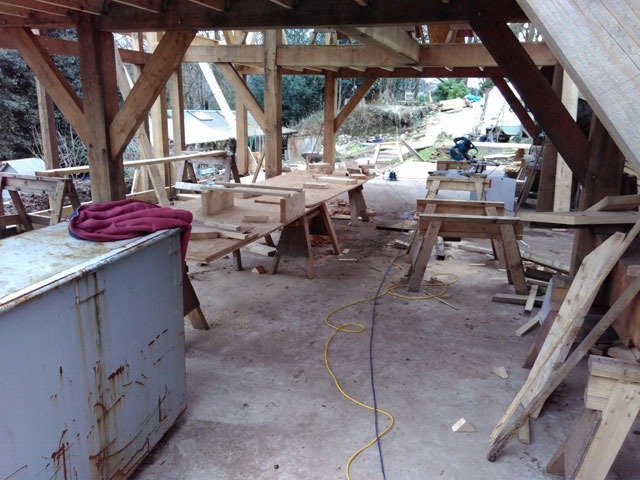
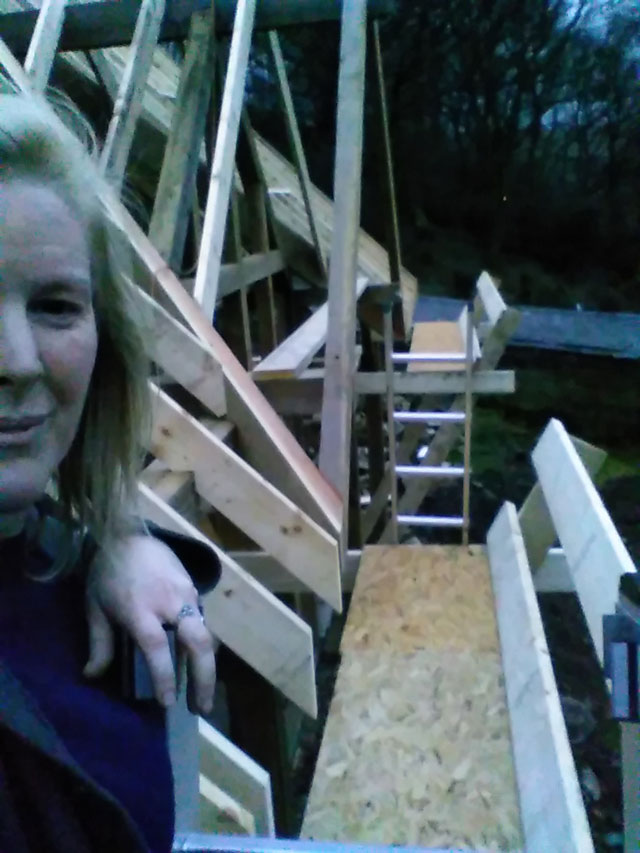
Before all this, though, I took some general pictures. So I’ll share them just so I have something to blog about. Here’s the picture of my workspace. That’s the sort of thing I always forget to document, the everyday spaces.
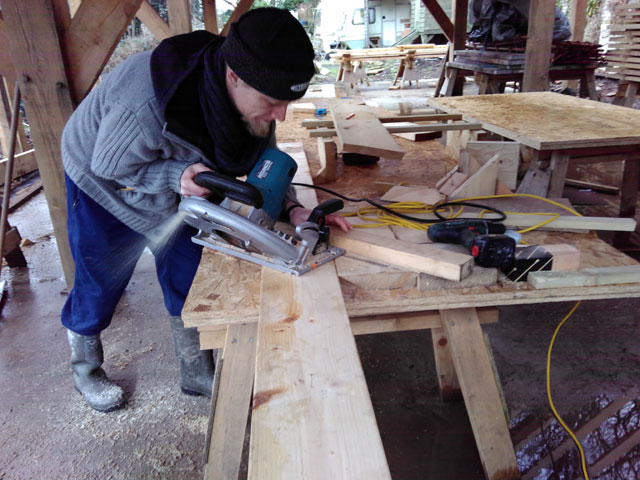
We did the pouring of the concrete a few days ago, and in advance of that, we had to epoxy some lengths of rebar into the existing slab. And in order to do that, we had to cut the rebar with an angle grinder. I had a go, but Ben is much faster than me.
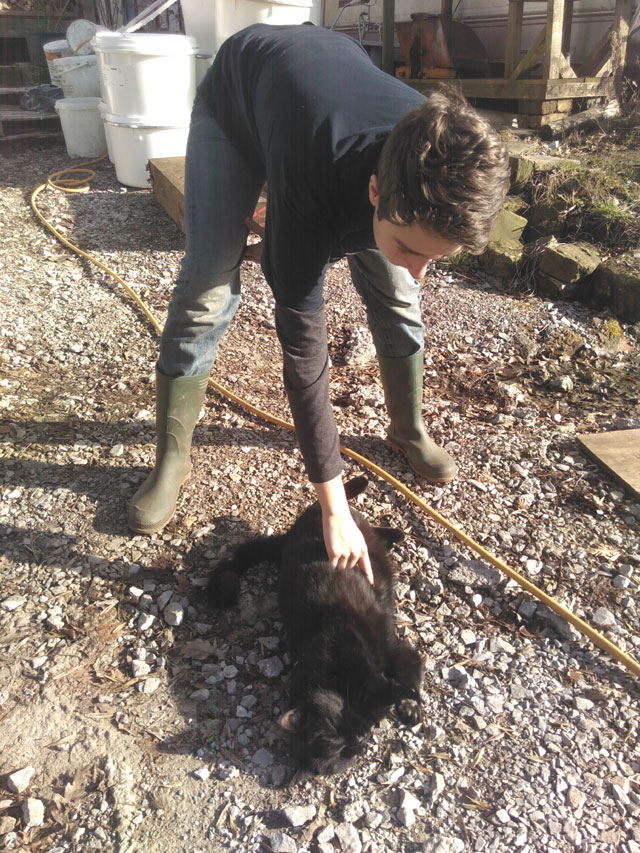
During a sunny spell, Jack had a roll in the dirt.
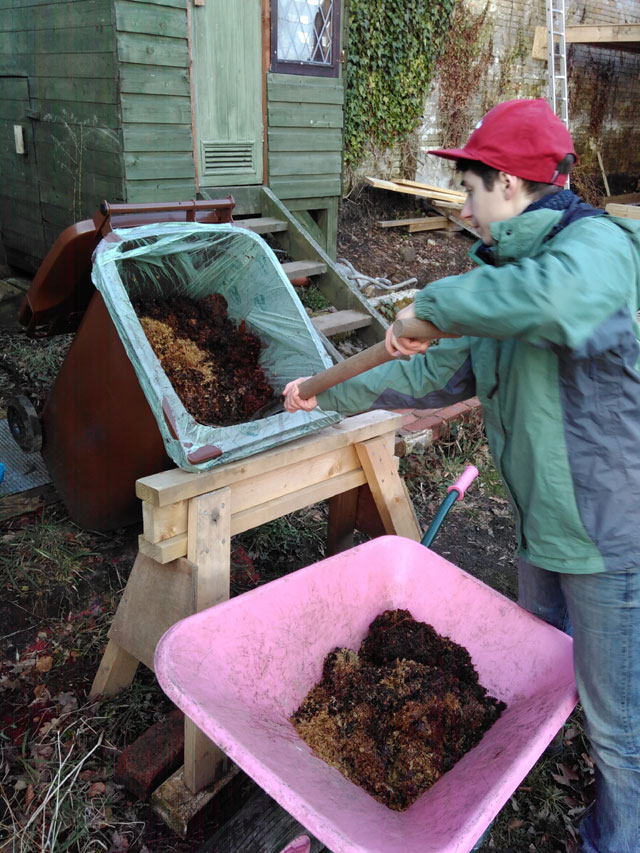
And (drumroll please!) we emptied a shit bucket. It was so not as bad as the last one. I think the secret is not having shaken it down that much, so it was quite aerated and semi-dry right down to near the bottom, and consequently had already composted quite a bit. Anna, my hero, helped very bravely. In fact, she did most of it. I am such a wuss.
Tomorrow I will 100% definitely get on with the roofing.
Posted inUncategorized|Comments Off on I Really Need To Move It…
A lovely stretch of not-raining weather, longer days and a looming deadline has meant that we are putting a lot of hours in lately.
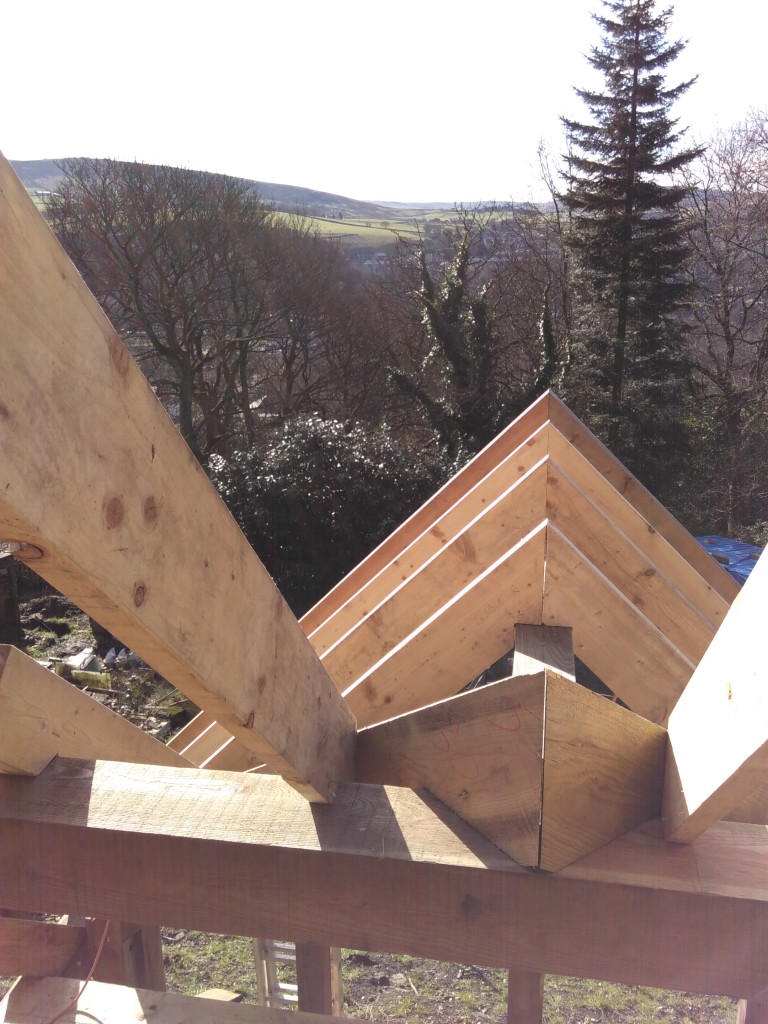
After a fair amount of head scratching and cross-eyed 3D imagination exercising, we figured out that Ben’s 45 degree jig could be made to cut all the jack-rafters by tilting the saw at 45 degrees also. Some had to go in one way and some the other, but it worked a treat.
Ben, who never does anything dangerous, volunteered to sit on the ridge and fix them in place.
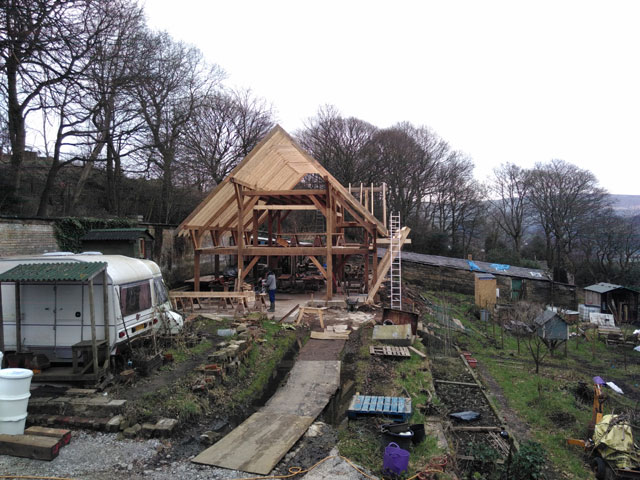
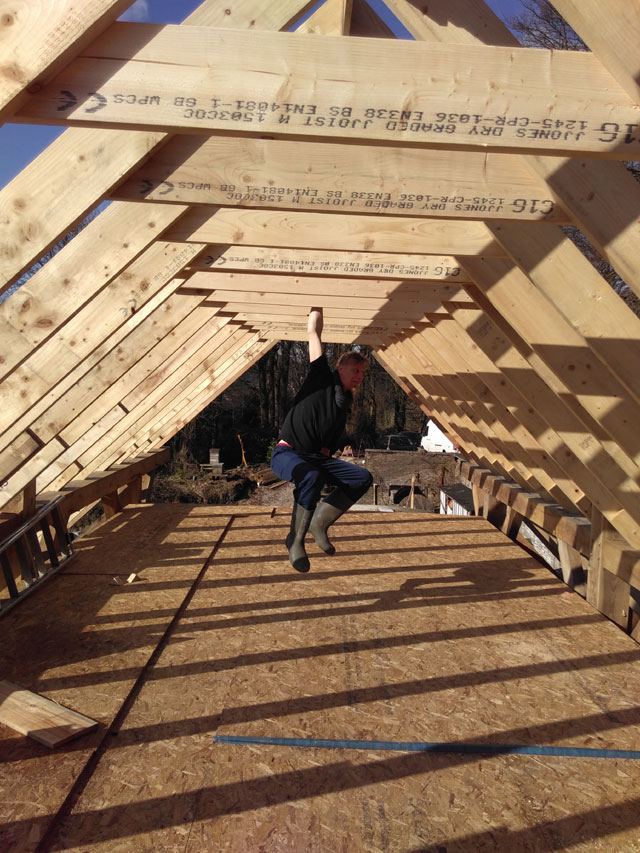
We placed the last rafters this morning in glorious sunshine.
Ben celebrated by hanging one-handed from the collar ties.
It’s a shame this view will soon be hidden by a roof. But it’s not a shame that we won’t get soaked working in the building anymore.
Ben never does anything dangerous.
And while we were at it, we built some scaffolding at the front of the house in preparation for roofing.
I did a lot of online research before I started this process, but I still felt a little unprepared when I poured the first batch in the bathtub.
I’d have liked to have a blow-by-blow how-to with videos to get me feeling a little more confident. So I’ve made one for the rest of the world. You should be aware that this is the first time I’ve done this, I don’t really, properly, know what I’m doing, and there’s no telling at this point how the finished render will come out (watch the blog in a few months!) but as far as I can tell, it’s all going well.
So here’s what I know so far:
You can buy quicklime directly from the company that produces it, usually associated with a quarry in a limestone area. You can probably also get it from your local, decent-sized builder’s merchant. I paid £200 for mine, a ton bag, delivered. You want granulated, which means it’s broken into quite small pieces, which makes the slaking process easier.
I got a ton bag because I calculated (strictly on the back of a napkin) that that would make just about enough to do the outside only of my fairly sizeable house (around 600 square metres of exterior wall area) but you and I both will have to wait til late summer to find out if I was anywhere near right.
The quicklime needs to be kept DEAD DRY until you slake it, like not even left open to the air for very long if you can help it. I decanted mine into very sturdy buckets (free from a local plastic component manufacturer) with tight-fitting, waterproof lids so that I could take my time slaking it, as it’s pretty back-breaking and I wouldn’t want to do it day after day.
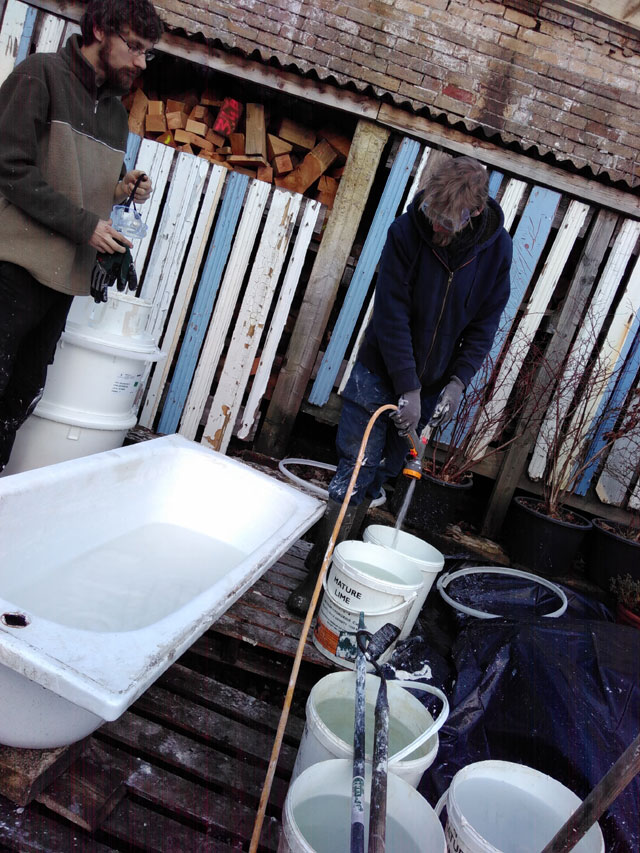
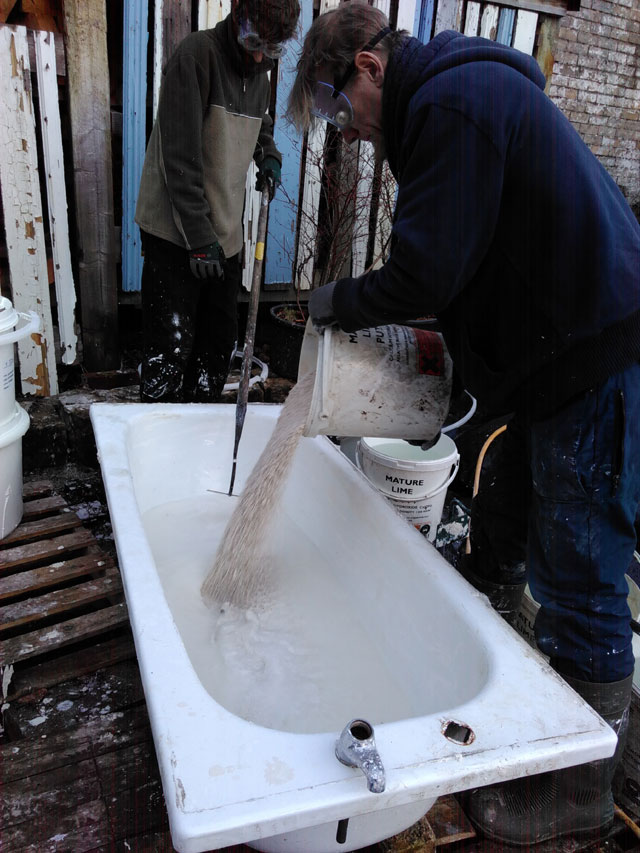
Besides quicklime, you will also need a large container to slake in. I used a metal bathtub. Beware of plastic ones or even fibreglass because I’m not sure how they would hold up to the very hot chemical reaction. You’ll want a couple of garden hoes for stirring, and a metal rake, the kind shaped like a comb, for integrating water as the putty thickens.
Have LOTS of water handy. Way more than you think you’ll need for the slaking process. We did two buckets of quicklime to about 4.5 buckets of water. Have a bucket of water for putting tools in when they are not in use, and have a bucket of clean water for washing yourself if you get splashed.
You needn’t super-panic about safety; if you get a splash on you, you won’t immediately lose a limb, but the stuff is pretty caustic and can cause chemical burns if left in contact with skin for a while, so wear long sleeves and gloves, and definitely wear eye protection. Your eyes will probably burn later in the day anyway if you’re shoveling dry quicklime, as the dust will be in the air. Also, it’s a good idea to wear a bandana or similar over your mouth and nose while dealing with the dry lime, as the dust, when breathed, will slake in your lungs. Not fun.
We started out with two buckets of water already in the tub and three or four ready to go in as we progressed. I’d read that you shouldn’t put the lime into water, but should only ever put water over the lime, but I don’t know why they say you shouldn’t, and we’re all still alive; it didn’t splash much and the reaction doesn’t get going until about 30 seconds in anyway.
The buckets I was measuring with had a capacity of about 18 litres, I think, and two of them full of granulated quicklime is about the biggest batch I’d be happy to do. Any bigger and it’s hard to keep it watered and stirred when the reaction gets going.
Normally, I’d say you need three people, two to stir constantly and one to monitor water. Obviously, in these pictures I’m not helping because I’m behind the camera. Once the quicklime is in the water, you’ll be stirring it for maybe 30 seconds before anything really happens, but when it happens, it will happen quite enthusiastically, so be ready with more water.
I took a series of videos because the thing I was most worried about was following wishy-washy instructions like “don’t let it drown” or “it’ll coat itself in its own fat” without knowing what any of it meant. Here is the fastest bit of the chemical reaction, which happens about 30 seconds to a minute after you mix the quicklime and water.
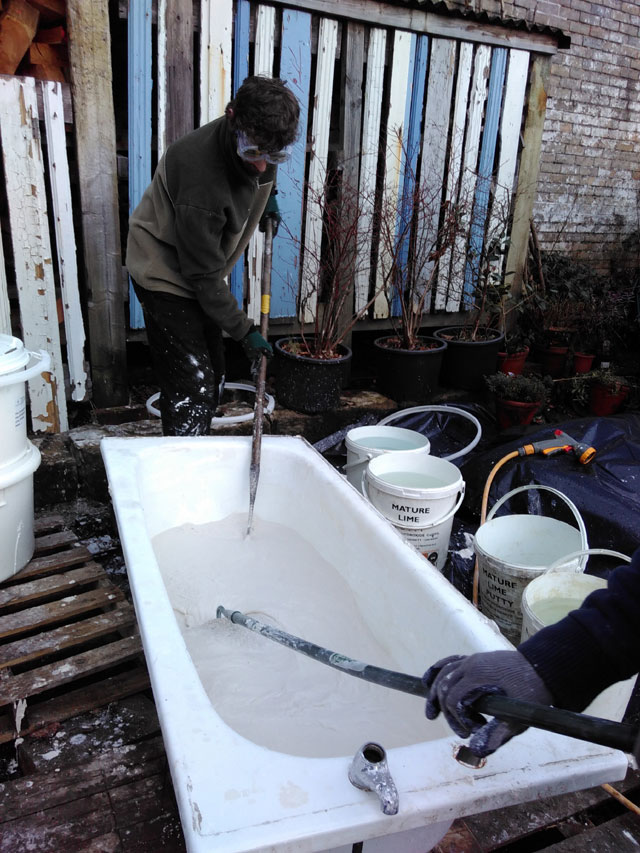
During the height of this reaction, you really need to be ready to add water, in decent quantities, pretty fast. There’s a sort of bell curve of how much water it needs. Too much too early and it lumps up and is hard to stir because you’re just pushing around fizzing dumplings in a thin, milky soup. Too little and you get powdery dry bits and a furiously boiling, spitting mess that can be dangerous. I aimed to keep it thick enough to stir out lumps but not to let it dry out to a crumbly-pasty consistency. The reaction will slack off after a few minutes and less water will need adding. Apparently the steam that’s given off during this reaction is quite toxic, so don’t stand in the cloud and breathe it in.
Once the reaction had more or less finished, I added just enough water, in one-litre increments, to try to match the internet’s helpful description of “like yogurt” and kept stirring for maybe another 10 or 15 minutes while it went quite smooth and cooled down a bit. It looked to me like partially whipped cream. If the rake left very distinct tracks in it, we watered it down a little more, til the rake left only very soft tracks. I have no idea whether this was right, we’ll know in a few months.
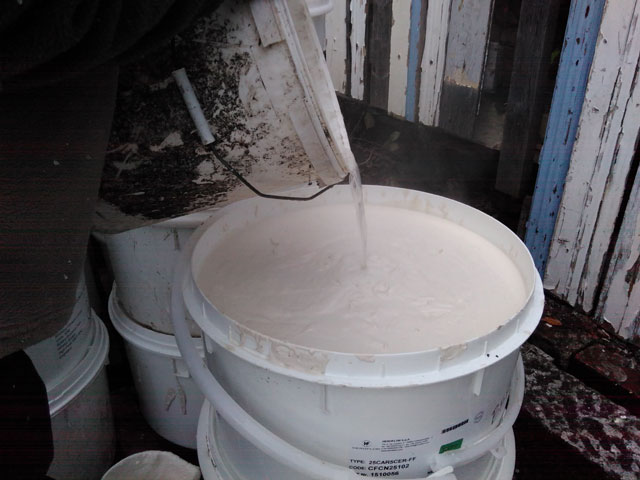
When the stuff was cool enough, we used buckets to decant it into the large storage buckets where it could mature for the requisite three months. Apparently it takes that long for the last bits of slaking to take place. After the three month minimum, it’s possible to leave it for years before use, and apparently it just keeps getting better, though I haven’t found a description of exactly *how* it’s better.
It needs an inch of water on top of it, even inside the airtight bucket, because in contact with air, it absorbs carbon dioxide (in a process called carbonation) and becomes, basically, limestone again. Which is exactly what you want when it’s mixed into render and put on your house, but if it happens while it’s still in the bucket, it’s ruined.
If it’s been mixed too dry, apparently it can take up the water you left on top, so I’ll be having a look at mine every few days until I’m convinced it doesn’t need topping up.
August 2023
Hey there, internet. So it turns out that quite a lot of the traffic to my blog is looking at this post (thanks Analytics!) and I thought I’d update you on a) how it went and b) stuff I did differently later on.
The putty I made worked really well, fattened up in storage to a good, thick consistency while remaining scoopable and workable by mixing with sand and horse hair to make render. Opinions vary on recipe, and actually, I can’t remember what we did, but the internet provided my recipe, so it will provide you one if you search.
The amount we made from one ton-bag did more than half the house but not all of it. I would say as a stupidly vague ball-park figure, a ton-bag will do a small house, 2 ton bags for a big house.
After rendering, we used watered down putty as whitewash and it looks amazing.
We ended up doing the back of the house (with the second ton bag) as hot-mix, that is, mixed sand, granulated quicklime and some straw clippings, in a cement mixer, with water added via a hose, measuring by eye (again, check internet for recipes) and it worked really well. So well I’d recommend that over the slaked lime putty version if you want to work quickly and get the whole task done asap with a team. The mix came out of the cement mixer into buckets and sat around for a day to finish the majority of the slaking and then went straight on the house. Do the putty version only if you’re doing this over a season on your own.
Whether or not you hot-mix, try to keep the render mix dry because if you mix it too soupy, it’s more likely to crack as it cures on the walls. I was mixing it so dry it was hard to work with while mixing, but apparently good to trowel on while pushing it down really hard, and that worked pretty well, a few cracks but not too bad.
For the record there was less cracking with the putty version, which I guess is unsurprising as it’s very thoroughly done all its slaking and just needs to carbonate.
We did put up some of the hot-mix in buckets and keep it with water on top and it seems to still be good a few years later, though you can’t hair (or straw) it and expect that to survive; the hair (or straw) just gets eaten by the alkalinity of the render and disappears, so hair it just before you use it.
Very best of luck, internet, hope your project is going well!
-Grace
Posted inUncategorized|Comments Off on How To Slake Quicklime